DNS Setup
How are you feeling? Nervous? Don’t worry. Be happy. Although you have accomplished a lot to this point, you are now ready to do the first really technical thing you’ve had to tackle. And I promise you, it will be a piece of cake, as they say.
If you disregarded my advice and purchased your Domain Name and Hosting together as a package, you are done with this page and should be ready to move on to the email setup module.
 Here’s how to setup your Domain Name Servers.
- Check with your hosting company to get their DNS Server information.
- It will be similar to ns1.HOSTNAME.COM and ns2.HOSTNAME.COM.
A helpful article to explain the whole process is available here if you would like to read it.
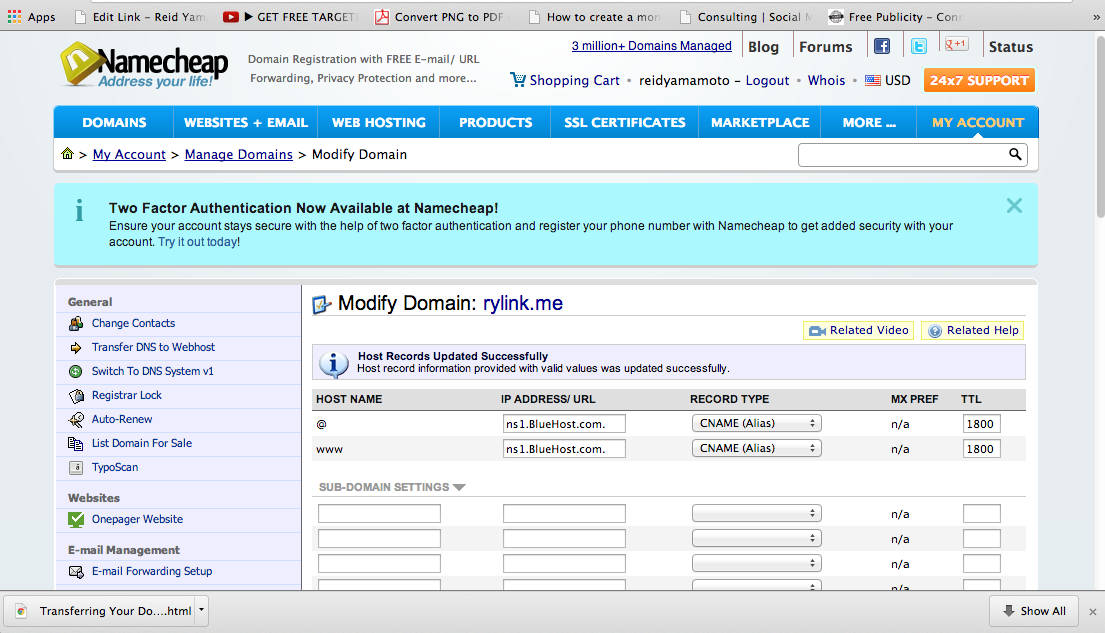
- Log into Namecheap.
- At the top in black, click on your UserName>>Manage Domains.
- Double click on your new domain name.
- Go to ‘Domain Name Server Setup’ from the left menu.
- Click the radio button for ‘Specify Custom DNS Servers. ( Your own DNS Servers )’
- Enter your 2 name servers as provided by your hosting company.
- click [Save Changes].
That’s it! All done. See? I told you it was a piece of cake. LOL
Please note that it will take up to 24 hours for the changes to take effect. (But I rarely see it take more than an hour.)
The planning is all over baby. We are rockin’ and rollin’ now! From here on out you are going to see things take shape pretty quickly.
So, if you’re ready, let’s add your Domain to your server account.